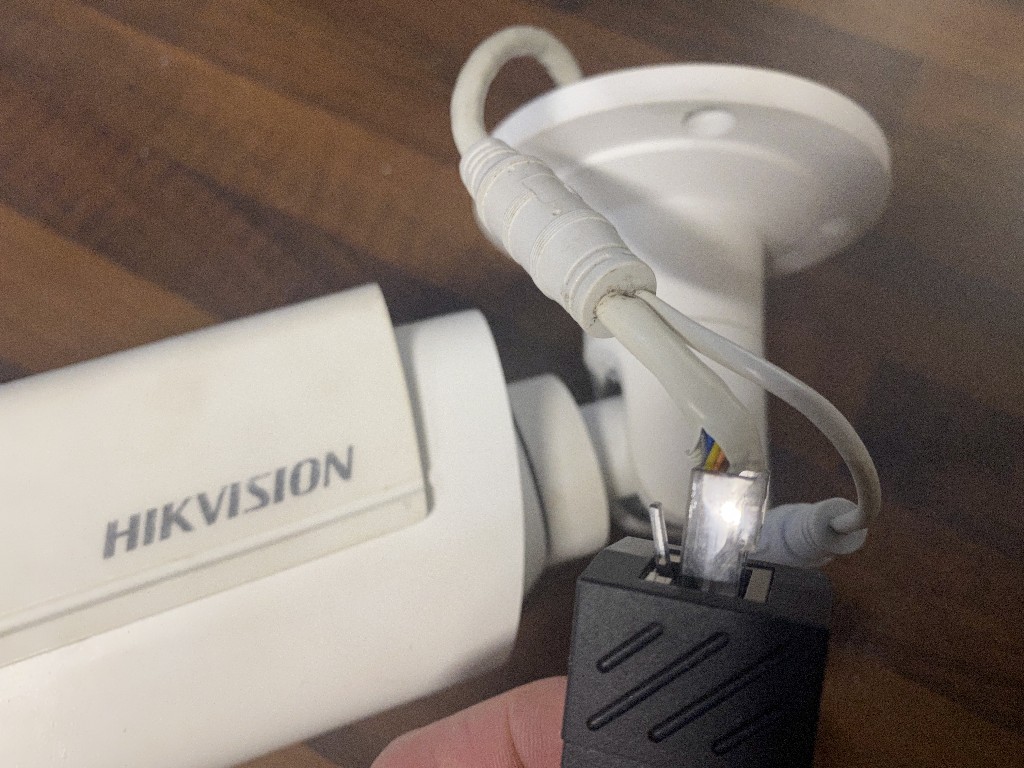
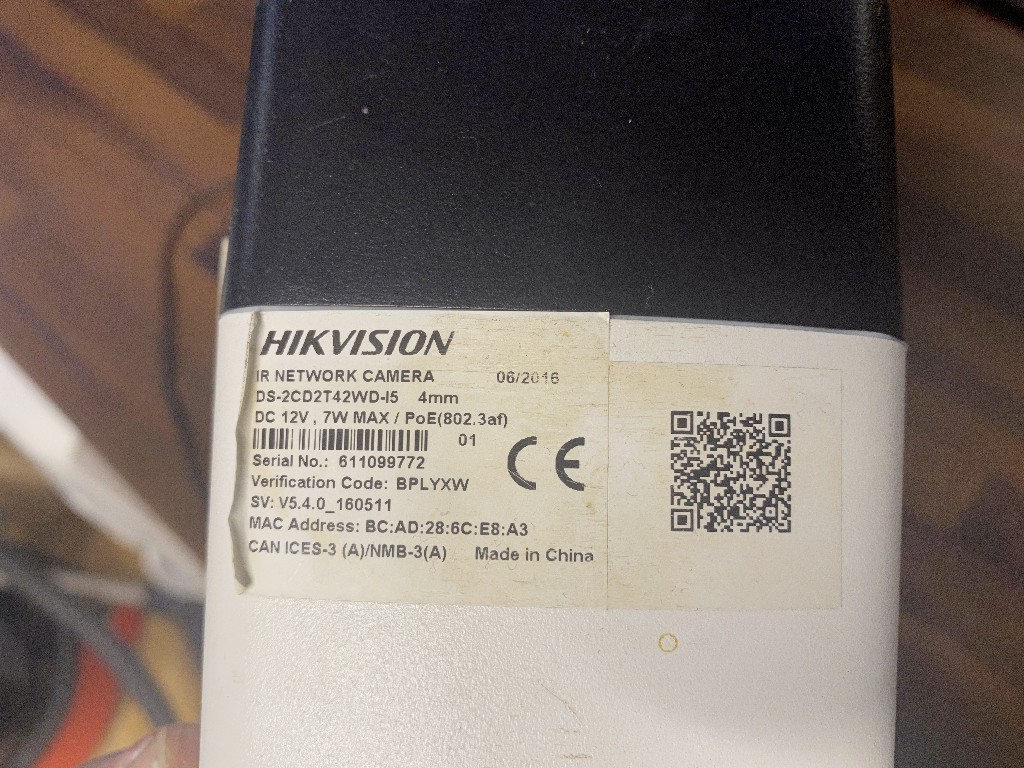
This camera in question (HIKVision DS-2CD2T42WD-I5) had been listed as a spares repairs camera – only works in black and white. My first thought was that probably an issue with the light sensor so put an eBay offer in on the listing and it was accepted. This post will give an insight to how i fixed it and what may be wrong with yours or similar HIK camera if you have this issue! Few pictures as we go, then various at the end. Hope this helps someone!
Initially I plugged it into my NVR, a HIK DS-7608NI-I2, but the admin password on the camera had been changed, therefore couldn’t get a video stream. After plugging into my network directly via a PoE (power over ethernet) injector, i used HIKVisions SADP tool to create a reset file which was sent to HIKVision and was able to reset the password. Worth noting here that to do this your computers IP address must be within the same IP range as the camera to be able to do this. For example this cameras IP was reported as 192.168.254.4 in the SADP tool – I set my IP to 192.168.254.100 manually.
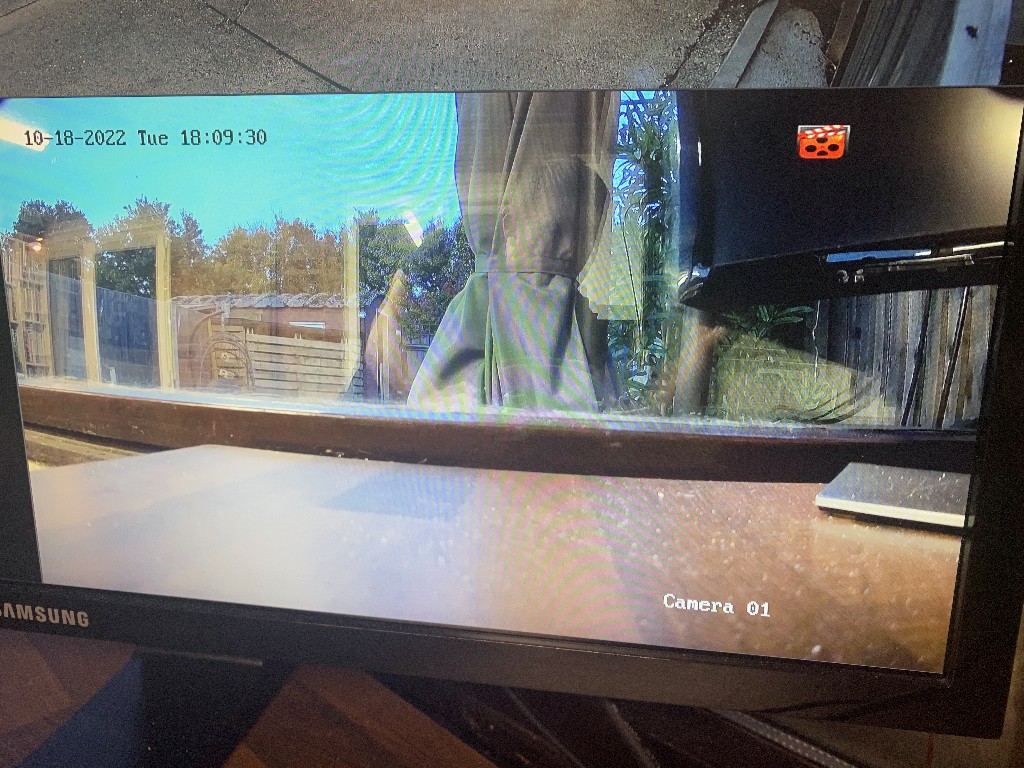
Once the passwords issue was rectified, we was on! Indeed the image was in black and white. After navigating to the image settings I changed the ‘Day / Night’ auto function to ‘Daytime’ – camera working in colour now! So clearly we have an issue relating to the light sensor – what ever was happening, the main board inside the camera must be receiving a signal saying ‘ Its dark outside’.
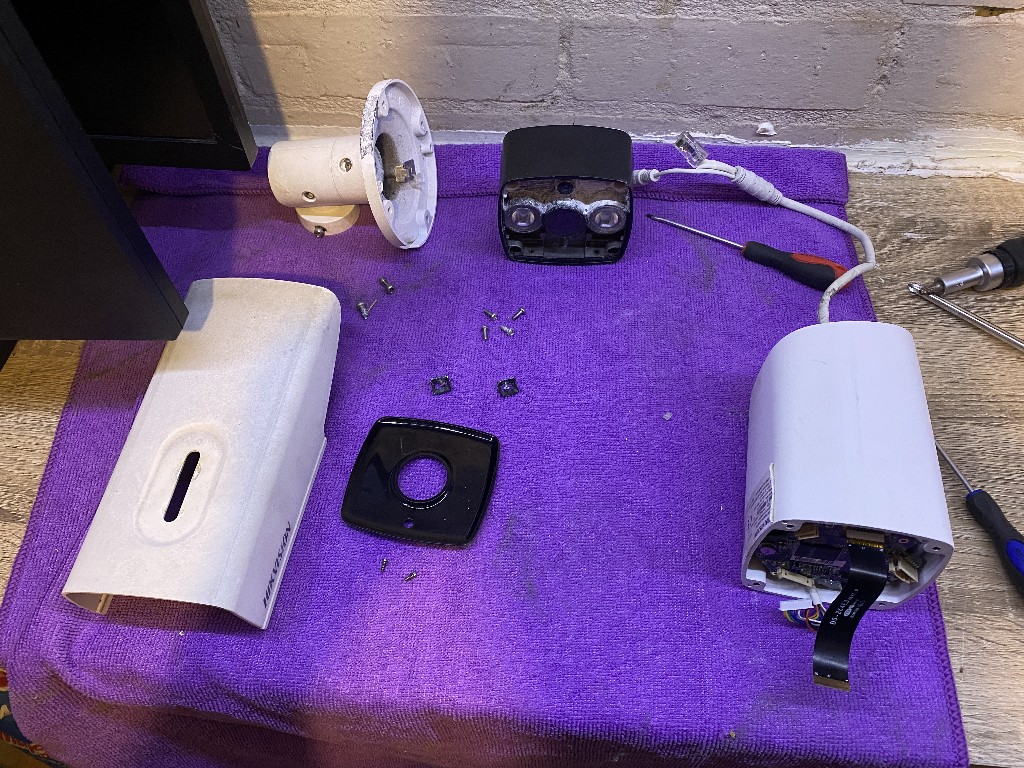
We needed to open her up. Some basic instructions with the images (at bottom of post) should guide you through, its a fairly straight forward affair;
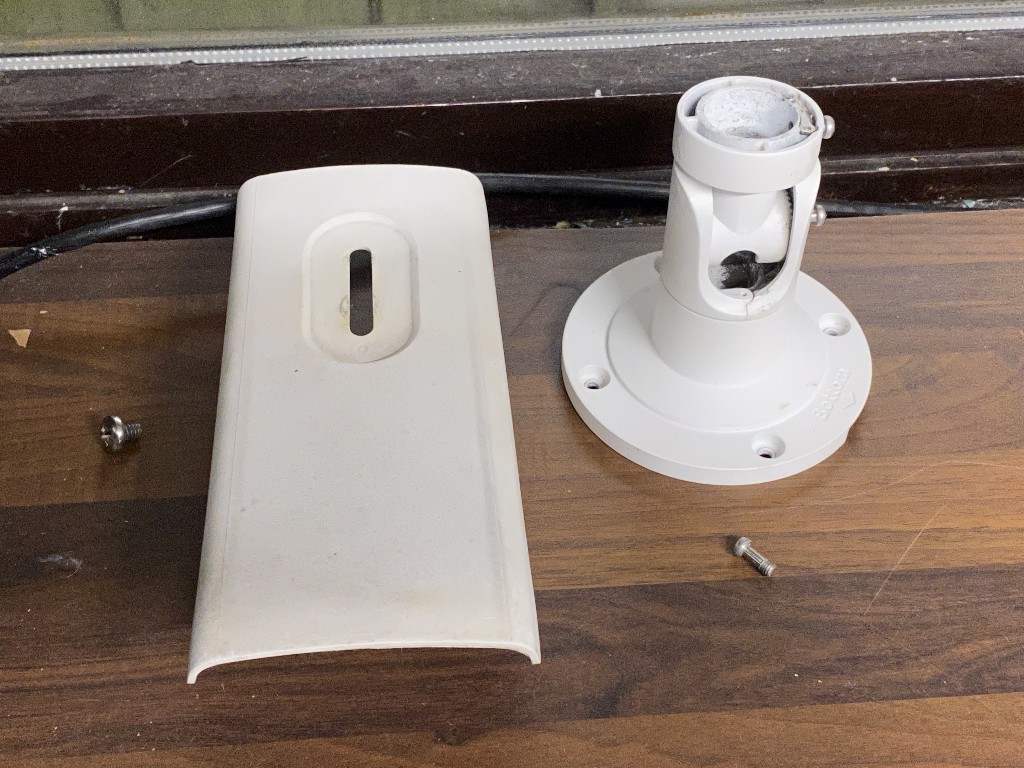
– Remove sun cover on top
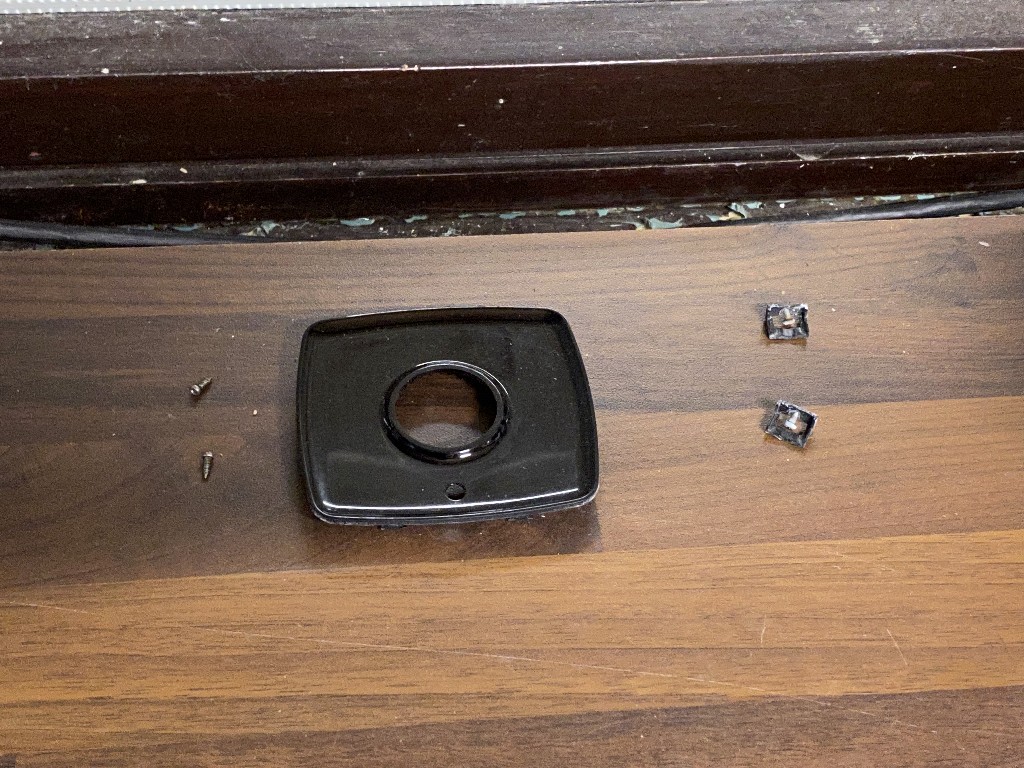
– Remove front cover screws x2 on top
– Remove front cover, just lifts out
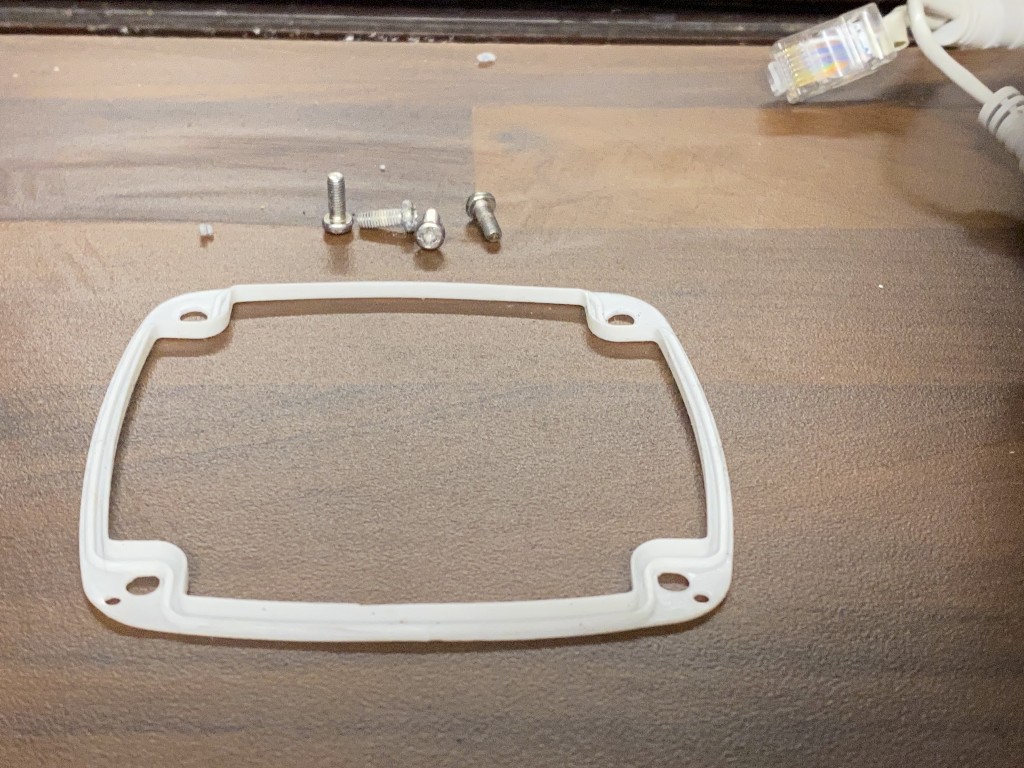
– Remove 4x recessed screws in front of unit
– Now the front part will separate from the rear. There is a seal between the two halfs
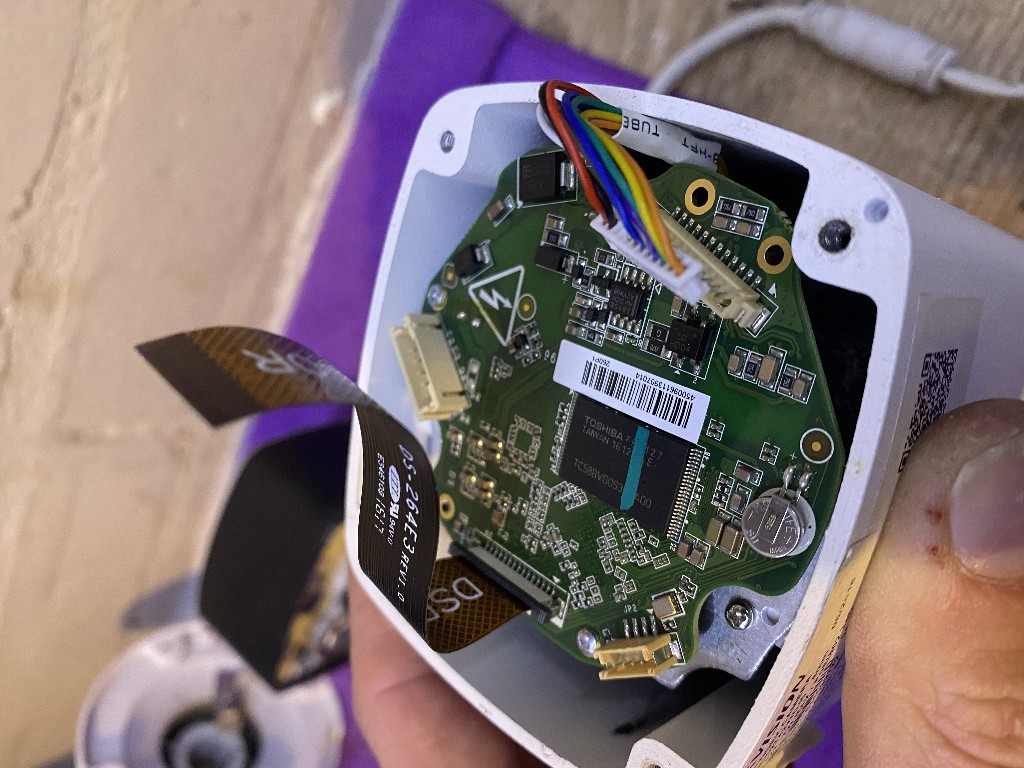
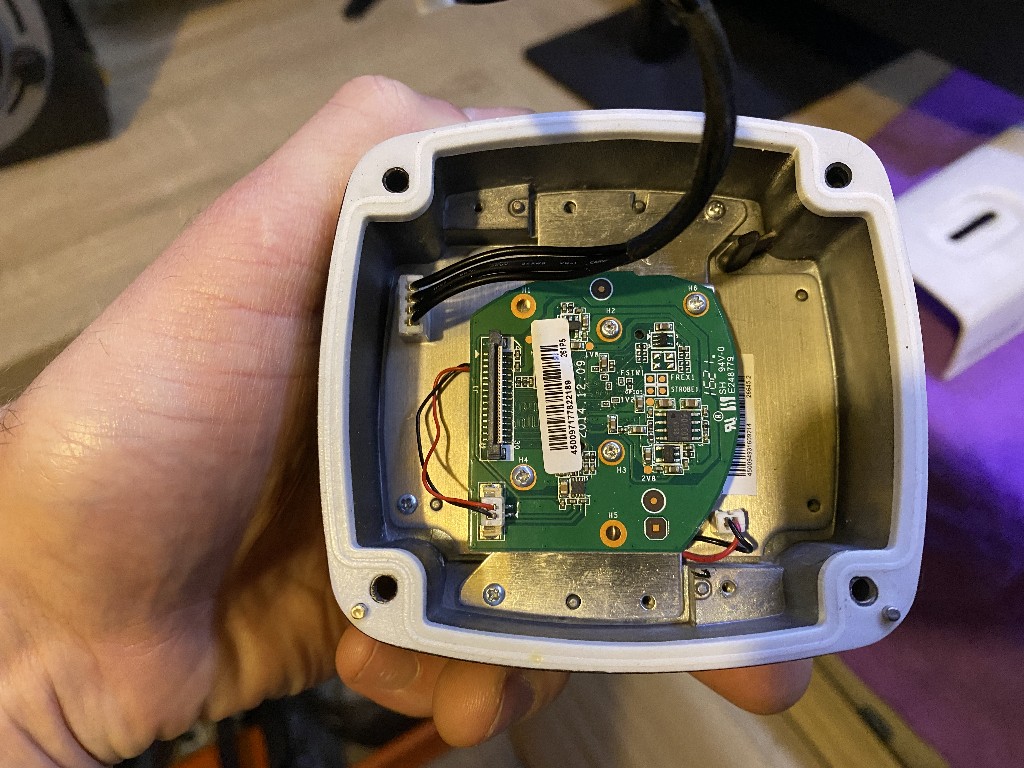
– To detach the front section completely you will need to remove the ribbon cable and the plug with the black wires from either end.
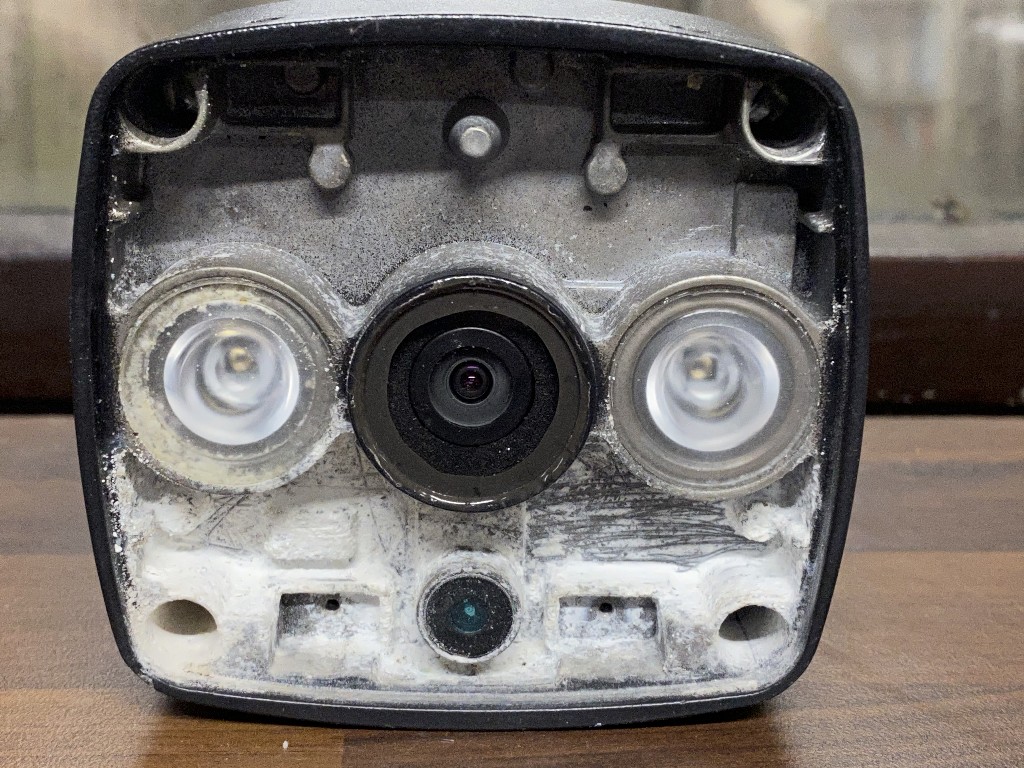
On opening the camera it was clear that someone had this apart before. When removing the front cover there was a corrosion build up on the front housing which had been scraped away.
The image sensor and IR light / filter are all assembled together in the front section. There are two circuit boards, the first one houses the image sensor and IR filter – this one has the ribbon cable. To remove this its best to take it out with the bracket attached to it. Then underneath this is the circuit board with the IR lights. Separate to this is the daylight sensor, that is glued into the main housing – it plugs into the circuit board for the IR lights. This where our issue is.
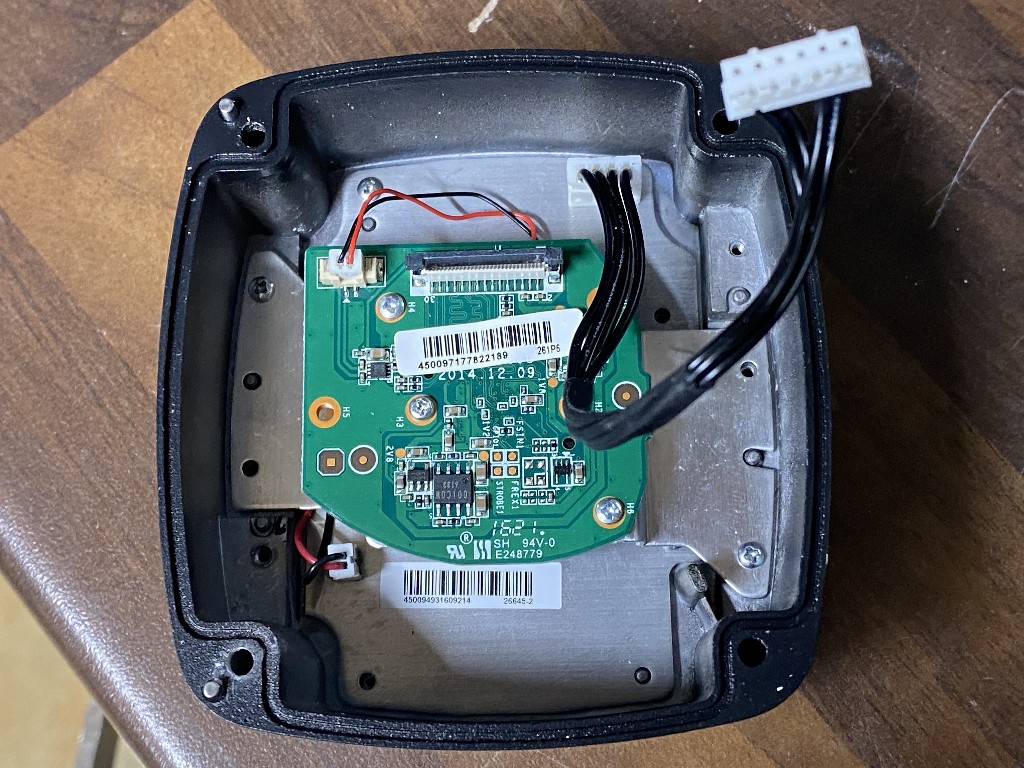
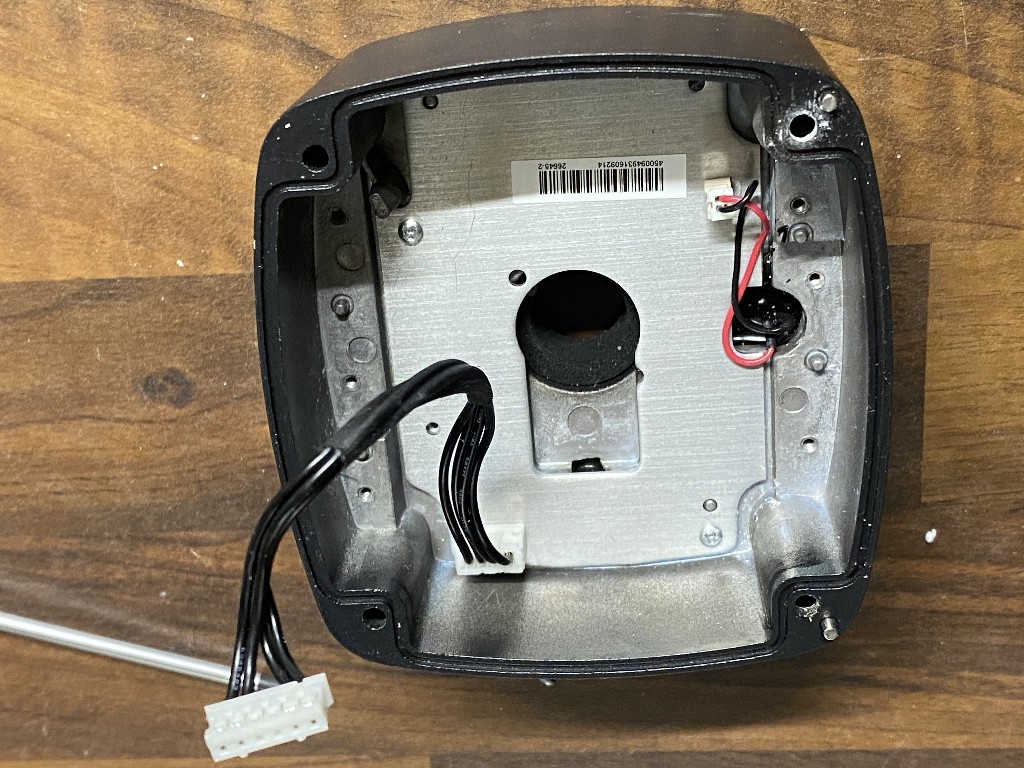
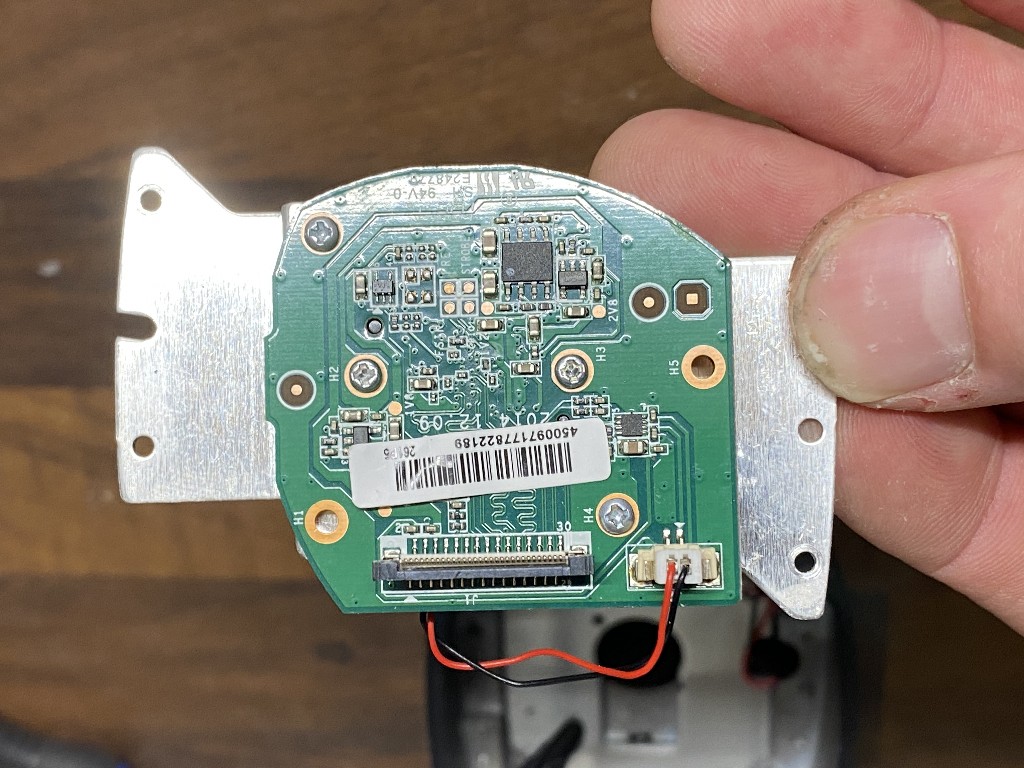
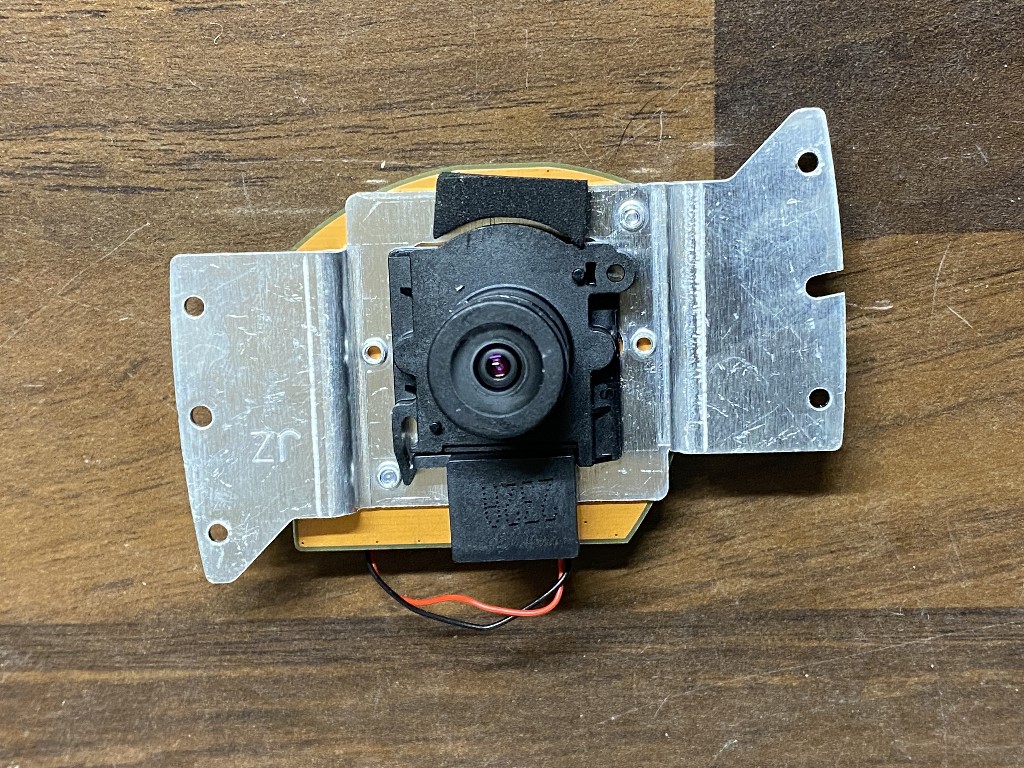
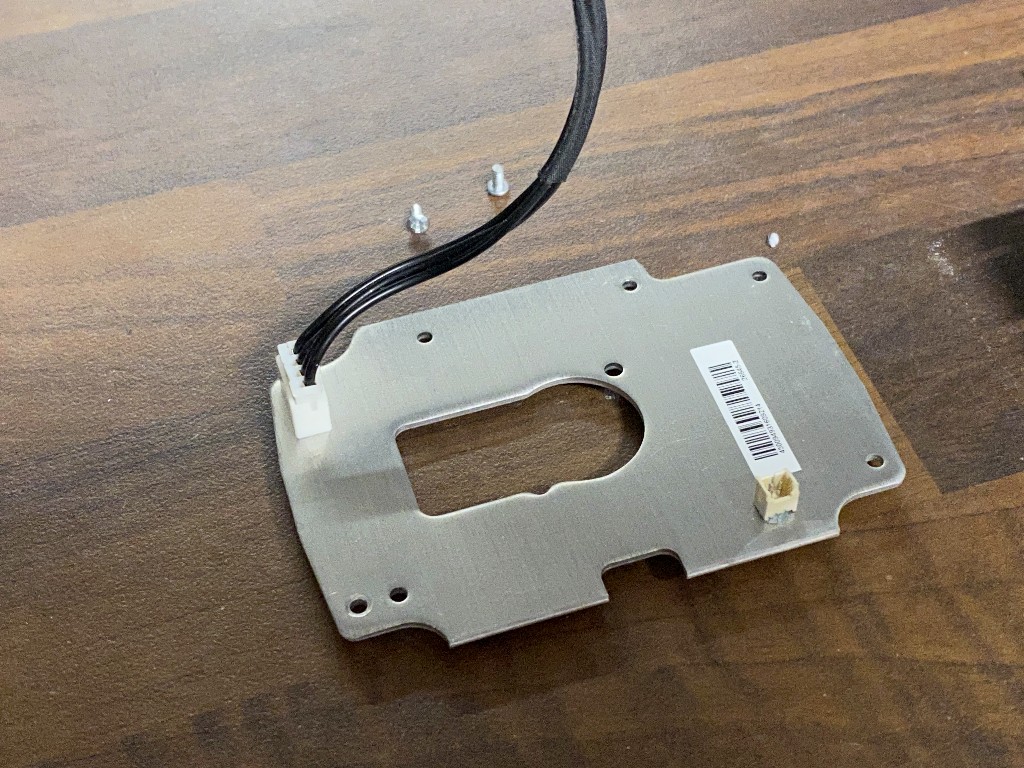
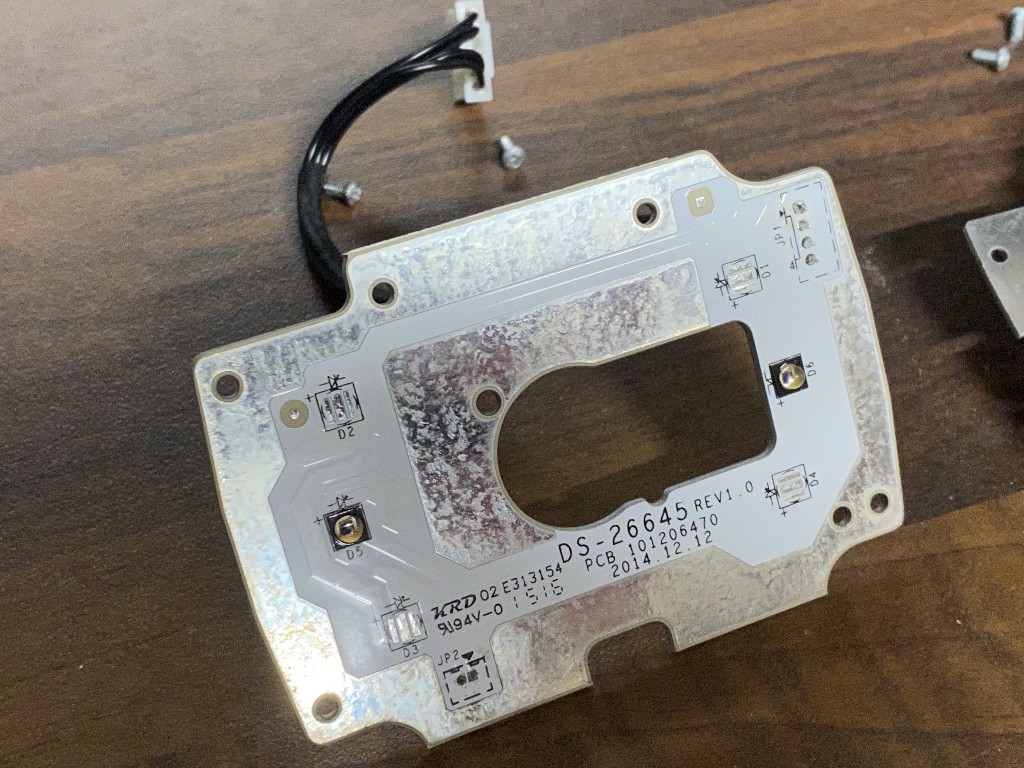
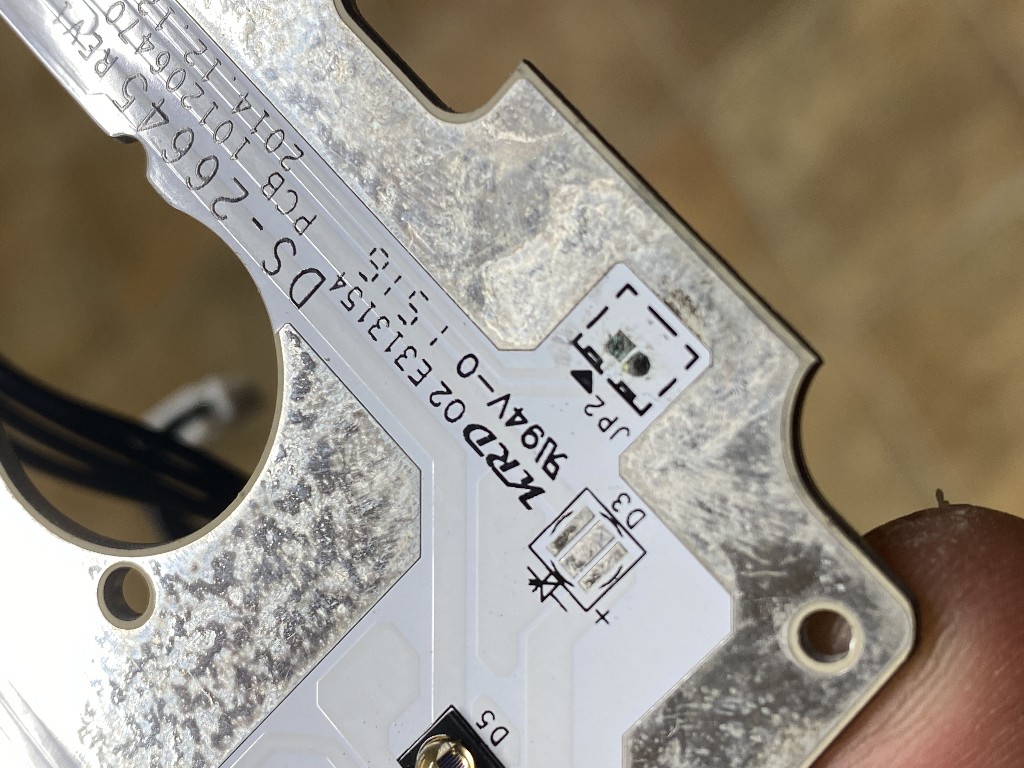
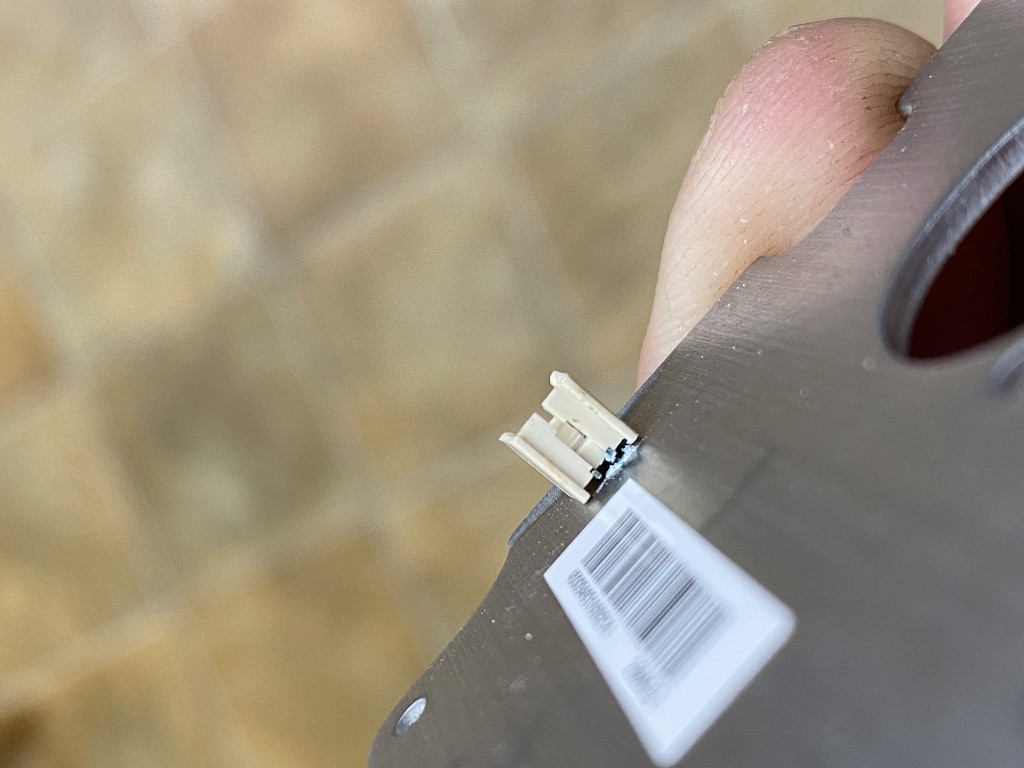
As can be seen in the last two photos the pins in the socket for the daylight sensor plug have corroded away, creating a permanent open circuit. (which is what the main processing part of the camera is looking for at nighttime). Luckily, the circuit passes through this board and goes to the 4 pin plug with black wires.
I failed to take pictures of my repair, but essentially cut the plug off the daylight sensor, cut the corresponding wires off the plug with 4 black wires and soldered in a a couple of link wires. (Terrible diagram below!) I’m not 100% sure if the daylight sensor is polarity sensitive, but i traced the circuit through the board to ensure it was connected up as per original circuit. Its pretty easy to see the trace on the board!
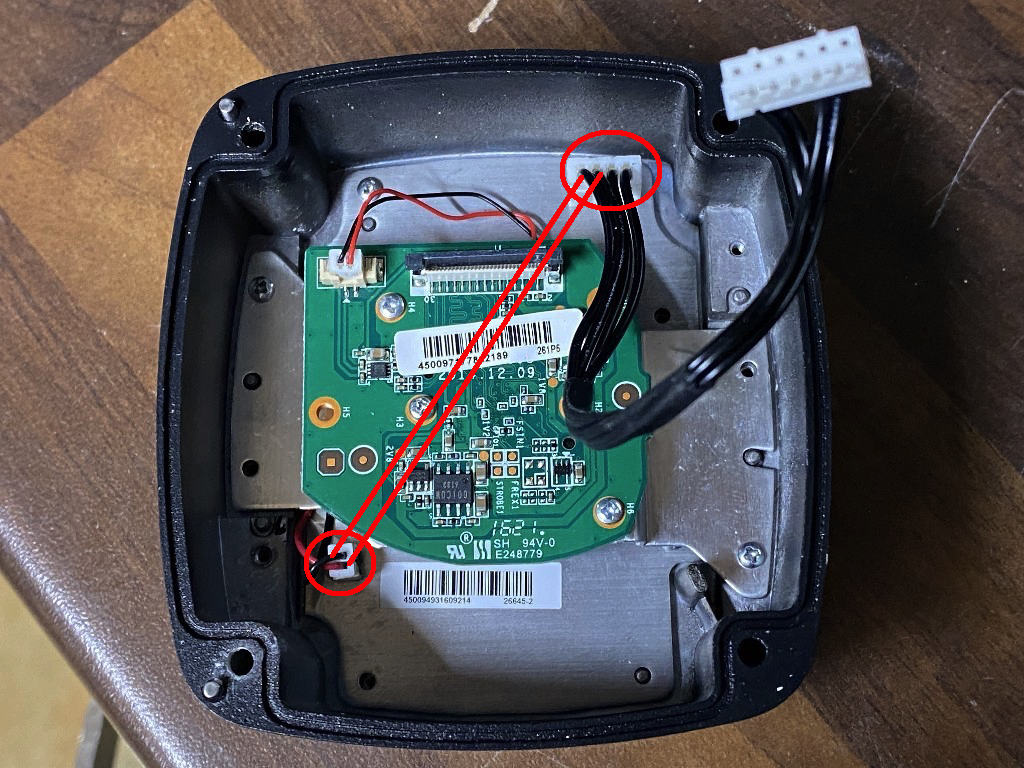
Once all re-assembled, i checked operation and all OK! Few more pics below;

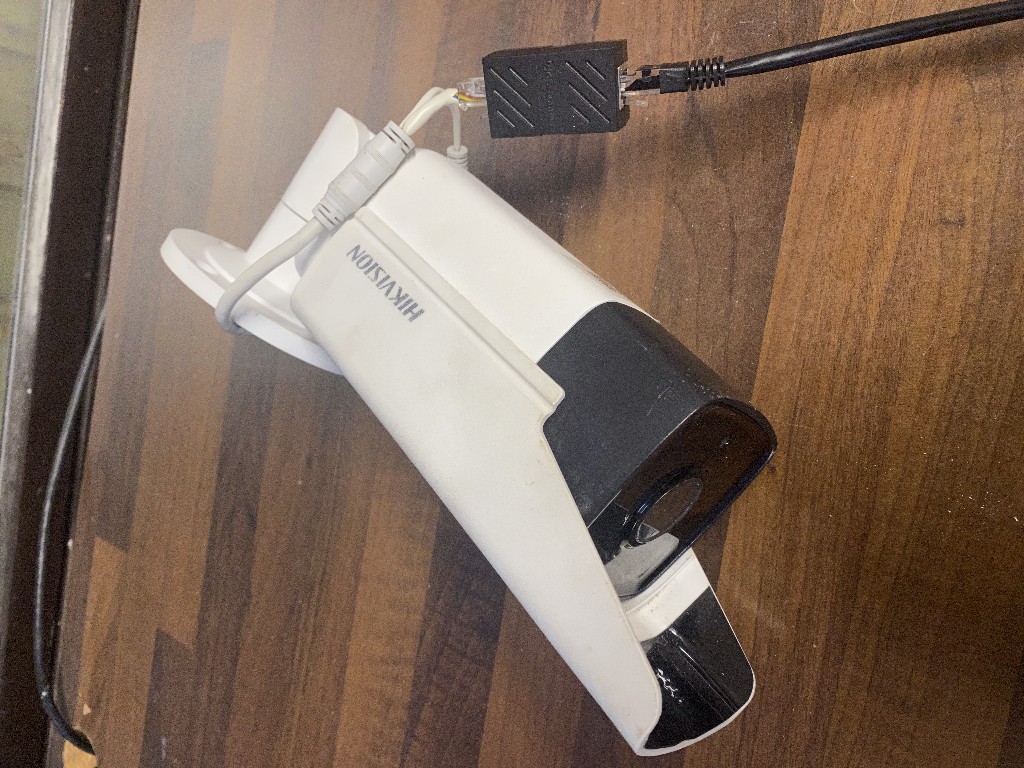
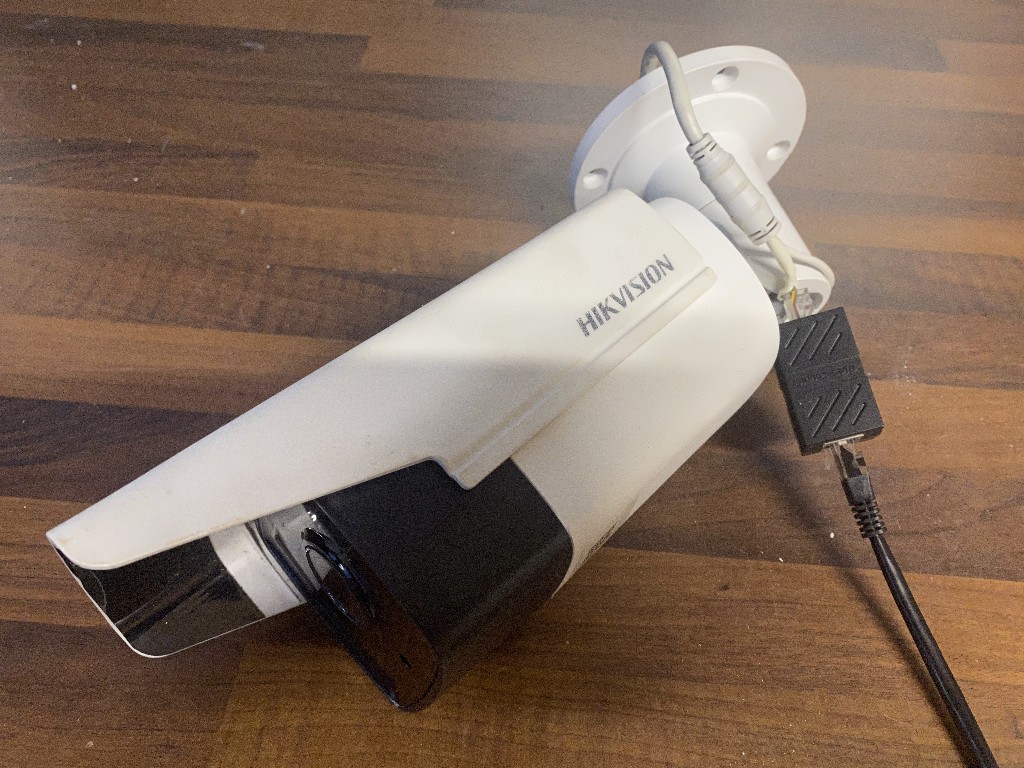
Minor notes;
Ensure that rubber gasket is located correctly on re-assembling.
In the main housing there is a silica gel packet – keep it in there, it absorbs moisture.
If you needed to set the focus, whilst the unit is a apart it can be adjusted – the lens on the image sensor can be rotated but you will need to pick off the glue that locks it in place.
