Introduction
These heaters are everywhere it seems. Vans, lorries, sheds, garages, mobile homes, static caravans conservatories, boats even houses – if you need to heat it, you can probably do it with one. I’m going to share my setup and experience with them, hopefully end up with a guide / information to go by if your looking into them.
Ps. If your here, then it may be worth while checking out my post for spare parts;
I ended up on the scene as couple of friends have them. One has one in their shed (get away from the wife space (?)) and the other uses it to heat their conservatory. They swear by them and it’s easy to understand why with my install for my conservatory. As energy is becoming more and more expensive, everyone is looking for alternative ways to heat there homes / living areas.
Chinese, you say? Are they safe?
Whilst this could be considered as a topic of a complete post, I would say reasonably so. Most of the time the unsafe situations are normally down to poor installation and stupidity.
Chinese diesel heaters are typically copies of products created by Eberspacher, Wallas and Webasto. Normally in cheaper copies, corners are cut and lower quality materials are used. Whilst this is not always the case, you should certainly be cautious of the heater you choose. Always read reviews and inspect the unit before you fit it. Join facebook groups and ask questions, even if they have been asked many times…!
How much do they cost to run?
As there are so many variables to this, a much better question would be, how much diesel will it use on lowest / highest settings.
To work this out, we need to know pump dose amount and how often it doses which is measured in Hz (unit of frequency – 1Hz would be once per second). Most of these heaters use a pump that doses 0.022 ml per dose cycle with a frequency of between 1.4 to 5.5 Hz.
Its worth noting that some controllers can be put in ‘Hz mode’, in which you can manually control the dose frequency, which is great for calculating costs. Mostly they are used in power setting mode which achieves various points between the minimum and maximum frequency.
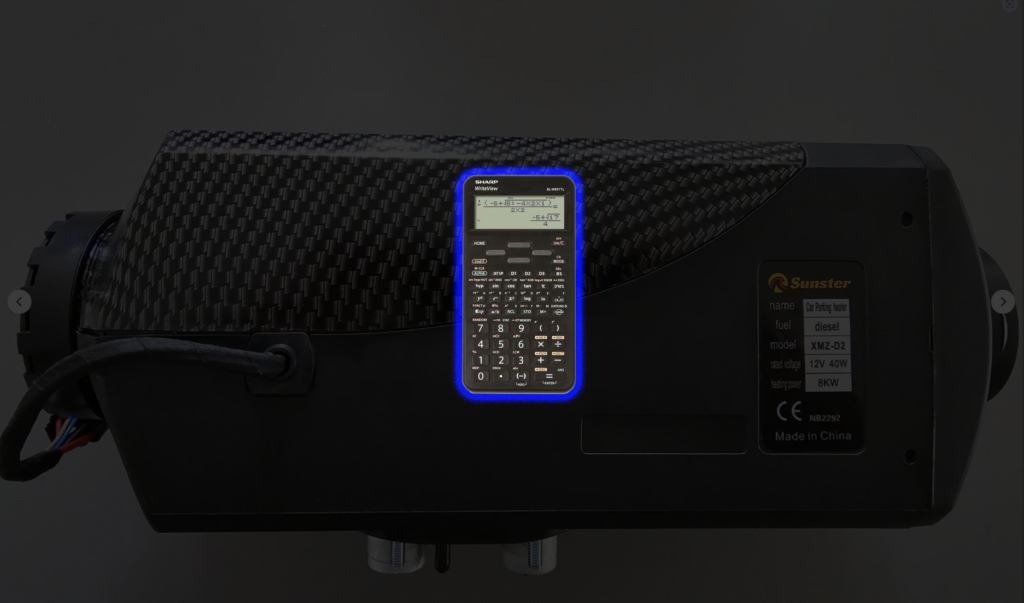
So how much do they use? Heres a handy little calculator;
Choosing a heater
Power Output
Essentially, all of the units are same base in either 2KW or 5KW. A 8KW is normally just a 5KW
For a small van the 2KW is perfect. Putting a 5KW in a small van will leave you roasting. For anything bigger, or a shed, conservatory, caravan – go with the 5KW.
A 2KW unit unit on full power will eat fuel, furthermore the fan speed will be fast and noisy. Also the higher the power setting, the faster the fuel pump ticks – more on that later. On the opposite end, a 5KW on low power will sip fuel and be quieter, whilst still pumping out heat nicely.
Some sellers advertise the units as a 2KW but will send a 5KW, this is because they are more readily available. You can spot this in the pictures sometimes, if they are using a picture of the actual unit;
2KW Units;
– Manifold in the centre
– Ducting size 60mm
– Approx 32cm length

5KW Units
– Manifold offset
– Ducting size 75mm
– Approx 38cm length
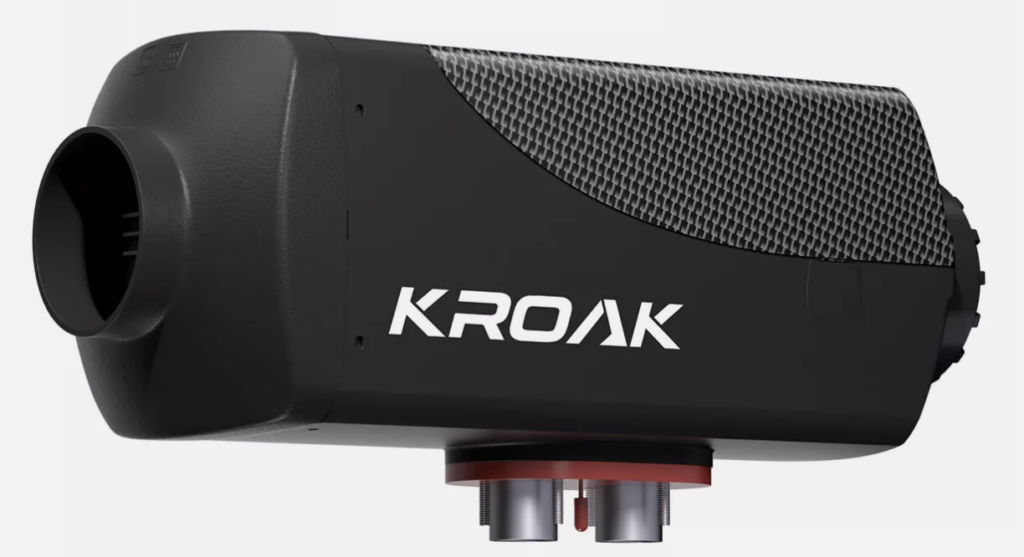
A good indicator is also the air vent size, you can spot the difference 60mm compared to 75mm.

Standalone or All-In-One?
The all in one units are great for a building where the unit can be located outside and the air piped in. They cannot* be located inside a building or vehicle as the exhaust fumes would kill you. They are also great as they are not necessarily a permanent installation can used anywhere. There are even ‘toolbox’ style units out there!
*Although the exhaust fumes can be piped out, there is much speculation on how well sealed the exhaust system can be sealed off properly. I would not risk this myself although many people do.
If a good deal was to come up on a all in one unit then you could take it apart and use it as a standalone, as they are just a standard unit in a case, but bare in mind the cable for the control panel and fuel pump will be short, but it could be extended. The cables on the standalone units are typically much longer. If using the unit in a thermostat mode, the control panel will need to be in the room that it is heating to sense the temperature.
The standalone units are required if fitting to a vehicle – they are designed be inside with the combustion intake / exhaust and fuel intake outside the vehicle. There is also no reason that they can’t be used in a permanent installation for a shed or garage for example. Many people mount them outside with the heating pipes ducted in. This is how my unit is set up – see further down.
Motherboard / Controller
There is various motherboard / controller combinations that come with these units and its best to run down a few of the main features. Some are pretty basic whilst others have useful features. Always check out all of the available units to see what has the best features.
The more basic controllers will let you turn the unit on/off and then heat output up or down.
The universal type motherboards work with any of the universal controllers – these typically have the better features:
Bluetooth – controlling the unit from your phone is useful if like me you want to heat up your conservatory before getting out of your bed.
Thermostatic mode – set the temperature and the unit will heat the space until it reaches temperature and then will adjust to lowest output. Some controllers can be set to completely turn off the unit until the temp drops 2 deg below set point. Bare in mind that each start-up involves the glow plug drawing significant power – not great in a vehicle situation if connected to the starter battery.
Hz mode – We touched on this briefly before, this allows you to set the frequency of the fuel pump dose. Essentially the equivalent of setting the heat output a bit more precisely.
Altitude adjustment – If your elevation is over 1000ft, this can be important to get fuel mixture correct.
Most units are 12/24V, but i have seen a few that are 12V only – worth noting for how you set up your electrical power supply.
Recommendation for a unit
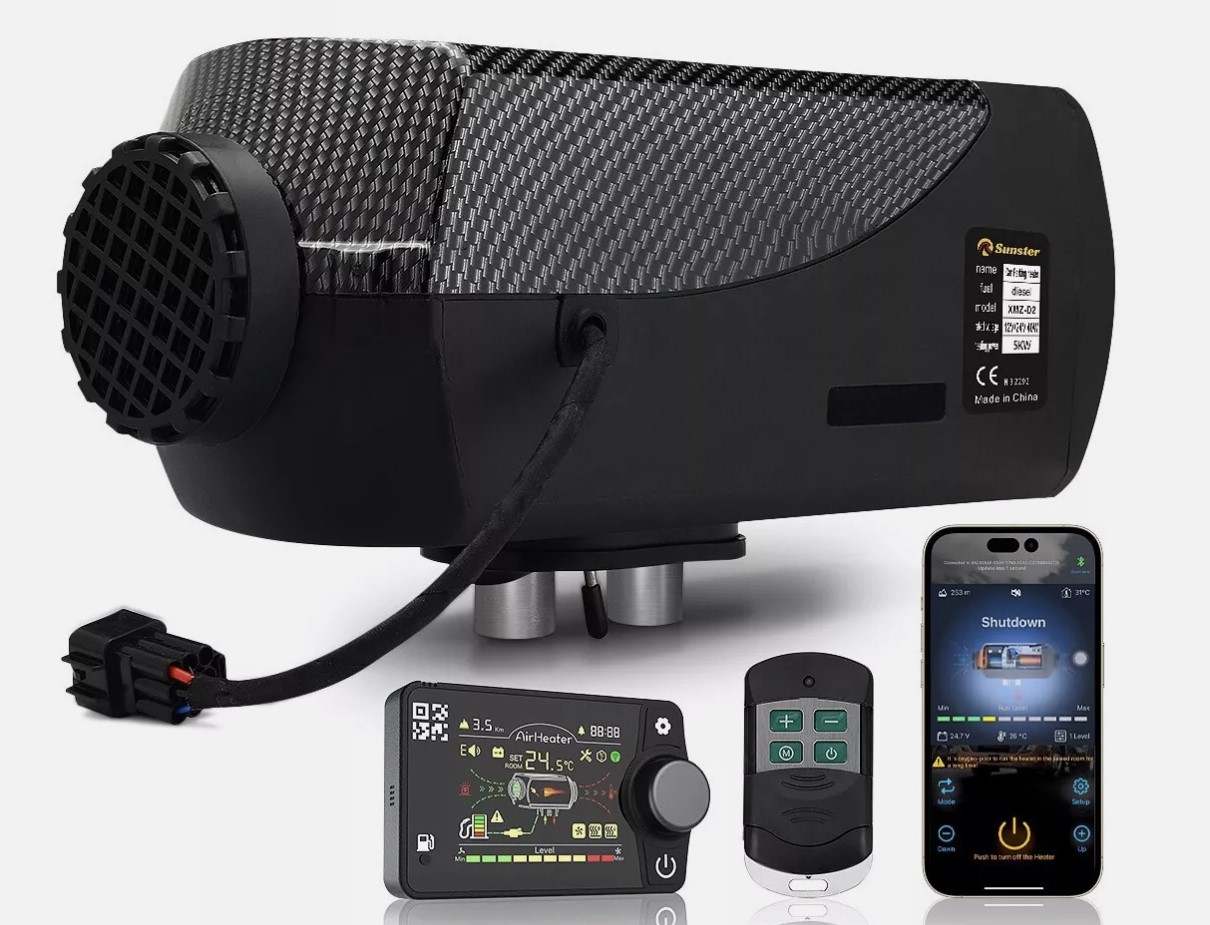
In my install I am using a ‘Sunster’ Unit. It has a modern looking controller, power output level mode, thermostat mode with complete shutdown or run at low level, Bluetooth and various timer options.
There is a level display for the fuel level (works from calculated values) – this feature supports various tank sizes / pump doses that can be amended in the settings.
This is a 12/24V version for wide compatibility – it’s the second unit ive installed and can’t fault it as of yet.
Installation of the unit
My building install;
For my install I have built a box from waterproof plyboard. This is supported on L brackets on the outside of my conservatory, with the heating air pipes ducted in. The actual unit sits on the plate that comes with the unit with the box cut-out to suit. I have used a bit of old bracketry to support the exhaust, not the tidiest by any means, but serves its purpose. Pictures below!
Another option would be use turret plate and cut a large hole into the wall. This would mean the unit would be inside, and the exhaust /combustion intake outside. The unit can be mounted sideways, as long as the glow plug is at the top.
Wiring side is not complex by any means – Simply plug the loom into the unit, route the control panel wiring to suit controller position and connect up, plug in the fuel pump and connect the 12v positive and negative to your power source. Ensure it is fused (15A normally).
Fuel system needs to be connected up in this order; Fuel tank – filter – pump – heater. Ensure you connect the pump around the correct way, it has arrows indicating flow.
I have seen many other setups in various boxes, even one done in a old ammunitions box!
Vehicle install
For a vehicle install, you need to install it through the floor of the vehicle. A turret plate is likely to be necessary. Ideally tap into fuel tank lines to save having another tank. For some vehicles you can get adaptors that allow you to tap into the fuel lines using standard quick connect fittings. (See spare parts / installation tools)

All in one unit
Essentially, these should be ready to add fuel and give an electrical power source – then ready to go. It is highly recommended to take off the covers and give them a once over. I have seen issues such as; fuel pipes kinked, no fuel filter fitted, wiring routed very close to combustion chamber and even positive/negative wires round the wrong way.
Assuming all good, just duct the heat to where you require it. Once again its important to keep these units outside – even if you decide to put a long exhaust on one and then out through a wall there is risk of exhaust gases leaking out from around where the exhaust pipe goes on the manifold. The seal is not great in some instances.
Electrical power requirements
For a building install, assuming you don’t normally get power cuts – best option is to use a universal power supply, 30A covers more than required, they can be picked up for around £20.
If power cuts are common, best option would be to use a battery with a smart charger attached. This is important as if the power is just cut off, the cool down sequence (the fan running on) will not happen and the excess heat can damage the unit.
If being installed in a vehicle, it would be wise to be connected to a secondary battery system over the main vehicle battery. This could be a whole topic on its own, is past the scope of this post and I would advise to carry out your research before doing your install.
FAQs
Top number one FAQ – How much fuel do they use?
See further up the page.
Or just click here- Chinese Diesel Heater Fuel Consumption & Cost Calculator
Will it heat up ‘SIZE OF ROOM‘?
There is so many variables here. I can give two examples from my experience:
My conservatory, 5Kw heater, 4x5m, wood framed, lower half plasterboard / rockwool, double glazed but draughty, felted roof with 50mm insulation between the joists; It can go from 5 degrees to 25 degrees in 20/25 mins on full, when near freezing, then stick it on the lowest ish setting and it will maintain temp around 20 degrees.
A kitchen/tea room at a fishing lake, 5Kw heater, 5x6m, built off the side of a container, wood framed, no insulation; 25/30 mins will get it up to 18/19 degrees when near freezing. Harder to maintain that temp without having it set high.
If you are planning to install in a shed or garage, consider that any exposed brickwork and metalwork will essentially suck up heat from the room.
I do know someone with a small wooden shed – 5Kw heater, heats it well enough to sleep in it.
Should I use a ‘turret plate’?
It certainly won’t harm and its better to play safe however you need to consider your particular installation and make the decision. In my instance the plate that come with the unit has suited perfectly and ive not had any issues.
How hot do they get?
Output air temp sensor reads around 220 degrees C on my bluetooth app. You can’t put your hand in front of the output vent for more than a few seconds.
What’s so bad about the green fuel line?
It falls apart eventually. I have used on my setup as that’s what was in the box to be frank. If it fails after winter I will replace it, it came with plenty.
What fuel line is better?
Any diesel rated fuel line, or many people use nylon pipe with rubber joiners.
Are the fuel pumps noisy?
Yes.
How can I make the fuel pump quieter?
There are various ‘silent’ (“silent”) pumps available online. Alternative, I have seen boxes to put them in that make them silent.
At first my fuel pump was attached to the box that I had built – the ticking just seemed to travel through my conservatory. After I attached it to the fence, overall much quieter inside.
I have seen people suspend them from cable ties and also hollow out a swimming pool noodle and put it inside that.
Why should the fuel pump be mounted at an angle downwards?
There is a science to this, basically to reduce wear on the internal parts of the pump.
How far can I duct the air?
Anything more than 4/5 meters and the air will be considerably cooler by the time it reaches the end, unless it’s very well insulated.
Should the combustion air intake be inside or outside?
I would opt for outside – don’t want to be using up all of the oxygenated air in the room.
Should I recirculate the air?
Bare in mind that in a vehicle install, they will suck in air from inside the vehicle.
I have recirculated the air from inside the room to the heater intake, easier to heat already warm air over fresh cold air?!
What does this fault code mean?
Check your instructions, it can vary from controller to controller. Subject to another post I will try to get together a list.
What’s ‘Afterburner’
An aftermarket controller for Chinese diesel heaters, Afterburner is a controller for Chinese diesel heaters, offering features like temperature probe offset and low voltage cutout. More features than i can list here -see http://afterburner.mrjones.id.au/
Why do I need a smart charger when powering with a battery?
To ensure the battery is safely recharged and voltage maintained / floated. – for example if you connected a universal power supply to the battery, you would end up overcharging the battery.
Can I change the amount of fuel ‘dosed’ to use less fuel, my controller has an option for dosing settings?
You can only change the dose by changing the fuel pump. The standard pump on these units will dose 0.022ml per pump cycle. The setting on the controller is for calculating the remaining fuel level.
Can I change the fuel pump to a different dosage unit?
You could, but you would need to adjust the fan speed to suit whilst monitoring the exhaust emissions to ensure the burn is correct.
Can I put the exhaust up the chimney?
No. There are two setups I visualise here. A pipe all the way to outside the roof; in this case it would be unlikely that the pressure in combustion chamber would be capable of pushing all of the exhaust gases to the top without creating significant back pressure. Also any gases leak in the exhaust would cool and come straight back down the chimney. Setup number two would be just poking the standard pipe up the bottom of the chimney – the exhaust gases will quickly cool and come straight back down the chimney.
Jams Top Tips
When heating up a cold room, use the highest setting for half hour, then drop it down to 1/4 ish.
Small fuel tank is sometimes better (if you leave it on full power and forget its on, you can only use up to the tank size!)
If drilling a hole for 75mm ducting, use a 81mm core drill size where the ducting goes through. It will fit snug.
On my 5Kw unit, the air intake for heating, 75mm ducting will not fit over the fan guard, there are adaptors available – see below.
Clamps for the exhaust that come in most kits are a bit rubbish, use ‘Mikalor’ ones; 26-28mm for corrugated type exhaust, 23-25mm for smooth type exhaust.
Spare parts / installation parts / tools
Here is a small selection of spares and install parts you may require.
Also, check out this list of comprehensive spares – Chinese Diesel Heaters – Spare Parts / Accessories


One thought on “Chinese Diesel Heating – For A Conservatory”